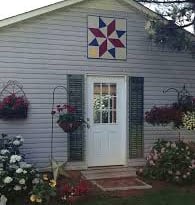
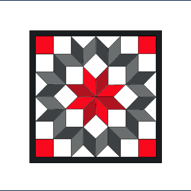
WDB Barn Quilt Patterns

Once you’ve chosen the perfect quilt pattern for your Barn Quilt Project, you have two great options for transferring it onto your panel.
If you’re an experienced quilter or someone who enjoys the creative challenge of working from scratch, this method might be for you! Analyze the design, break it down step-by-step, and draw it out yourself. It’s a rewarding process that lets you connect deeply with the craft.
Prefer a simpler route? That’s where we come in! We offer professionally designed patterns ready to download or ship, making it easy to get started quickly and accurately. Perfect for beginners or anyone who wants to focus on painting and finishing their masterpiece without the extra drafting work.
Bringing Your Barn Quilt to Life: Two Strategies
When looking for barn quilt patterns, you'll generally come across two main options:
Preprinted Patterns
These are ready-to-use designs that you simply transfer onto your project panel. They're especially helpful if the design includes freehand elements, making the process quicker and easier. However, this convenience comes at a higher cost, and you’ll need to wait for shipping.
Step-by-Step Drafting Instructions
This option involves drawing the pattern yourself directly onto the panel, guided by detailed instructions. I specialize in traditional block patterns, and personally, I find immense satisfaction in crafting a design from start to finish. There’s a real sense of accomplishment in creating it with your own hands. Plus, this method is more affordable, and the instructions are delivered instantly—no waiting, no shipping.
The Well Dressed Barn has created a library of Step-by-Step instructions for the most popular patterns for our workshops. Continue below to learn more about what makes our pattern instructions unique and easy to use. If you don't see the pattern you want, be sure to use the button below to inquire about us adding that pattern to the library.


WDB Pattern Instruction Features
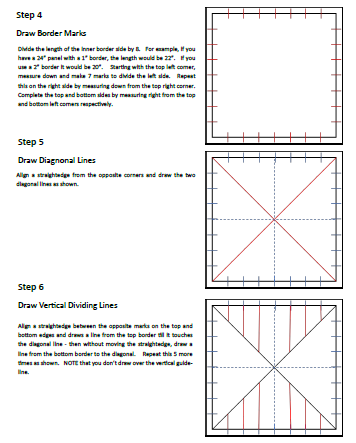
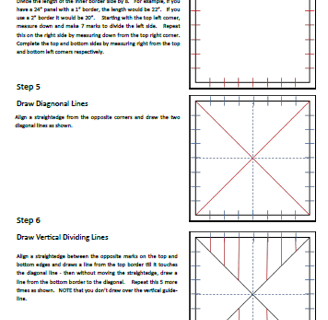
Each Instruction Step includes an image to help you visualize exactly what to do.
Each step includes both a description of what is to be done and is accompanied with a visual description which eliminates questions and confusion. We've been told by some workshop attendees that they've completed their pattern just by following the step images!
Step Images are Color-Coded
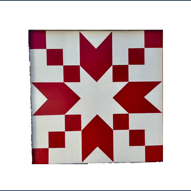
We use a Color-Code convention with the step images to ensure understanding of what is to be drawn. For example, all lines to be completed in a step are shown in RED. If you look at Step 5 to the right, you'll see that the work to be completed is to draw the two diagonal lines from corner to corner.
Tools Required
Measuring Rules
#2 Pencil
Eraser
Compass (optional)
Protractor (optional)
Subscribe for monthly updates!
info@thewelldressedbarn.com
© 2025. All rights reserved.
Explore our patterns, workshops, and resources today.